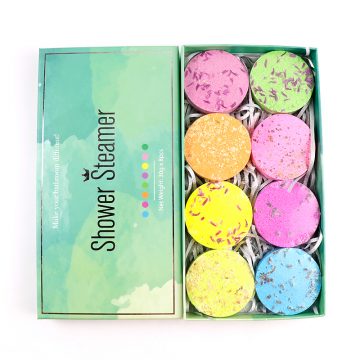
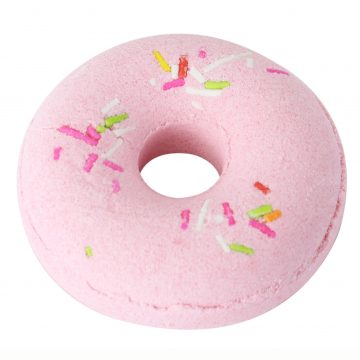
Creating your own spa-like experience with DIY bath bombs is a fantastic idea! Making your own bath bombs allows you to customize the scents, colors, and ingredients to suit your preferences. Here’s a basic guide to help you get started on creating your own spa-worthy bath bombs:
Ingredients:
- 1 cup baking soda
- 1/2 cup citric acid
- 1/2 cup Epsom salts
- 1/2 cup cornstarch
- Essential oils of your choice (e.g., lavender, eucalyptus, chamomile)
- Water or witch hazel (in a spray bottle)
- Food coloring (optional)
- Dried flower petals or herbs (optional)
Equipment:
- Mixing bowls
- Bath bomb molds (or alternative molds like silicone cupcake molds)
- Whisk
- Measuring cups and spoons
Instructions:
- Prepare Your Work Area: Ensure your workspace is clean and organized. Lay out all your ingredients and tools for easy access.
- Mix Dry Ingredients: In a mixing bowl, combine the baking soda, citric acid, Epsom salts, and cornstarch. Use a whisk to thoroughly mix these dry ingredients together.
- Add Essential Oils: Add a few drops of your chosen essential oils to the dry mixture. The amount will depend on your preference for scent strength. Mix well to distribute the oils evenly.
- Color Your Bath Bombs: If you want colored bath bombs, add a few drops of food coloring to the mixture. Be cautious not to add too much liquid, as it can prematurely activate the fizzing reaction. Mix until the color is evenly distributed.
- Spritz with Liquid: Using a spray bottle, spritz the mixture lightly with water or witch hazel. Gradually mix as you spritz to avoid excessive fizzing. The mixture should hold together when squeezed without being too wet.
- Add Optional Additions: If you want to include dried flower petals or herbs, gently fold them into the mixture at this stage.
- Pack into Molds: Firmly pack the mixture into your bath bomb molds. Overfill slightly and press the molds together firmly to compact the mixture.
- Release from Molds: Carefully tap the molds or gently unmold the bath bombs onto a flat surface. Let them sit and dry for several hours or overnight.
- Enjoy Your Spa Experience: Once the bath bombs are fully dried and hardened, they are ready to use. Simply drop one into a warm bath and enjoy the fizzing, aromatic experience.
Remember, making bath bombs can be a bit of trial and error, especially in getting the right amount of liquid to achieve the right texture. Feel free to experiment with different scents, colors, and ingredients until you find your perfect bath bomb recipe. Enjoy your DIY spa day!


